How To Replace or Remove and Reinstall the Drum Cartridge
- Product support for
- Xerox B1022/B1025 Multifunction Printer
- Article ID
- KB0393523
- Published
- 2018-06-07
Caution: Do not leave the printer covers and doors open for any length of time, especially in well-lighted places. Light exposure can damage the drum cartridge.
WARNING: Never throw a drum cartridge into an open flame. The cartridge can catch fire and cause burn injuries or an explosion.
 | 1 - Toner Cartridge 2 - Drum Cartridge 3 - Document Glass 4 - Document Glass Cover 5 - Document Feeder (optional) |
To Replace the Drum Cartridge
Note: A warning appears on the control panel when the Toner Cartridge or the Drum Cartridge are near replacement time. Verify that you have replacement cartridges available at your workplace. An error message appears on the control panel when the Toner Cartridge or the Drum Cartridge requires replacement.
Note: The images in this procedure are for demonstration purposes only and may differ slightly for your printer model.
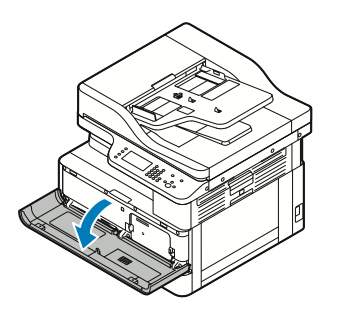
Open the side cover of the printer.

Open the front cover by pulling on both sides of the cover.
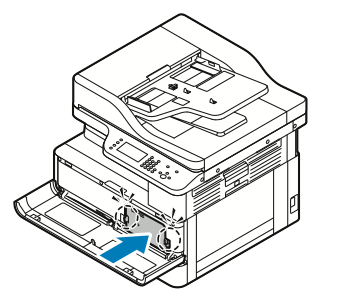
Release the toner cartridge by pushing the clips on both sides of the cartridge toward each other.
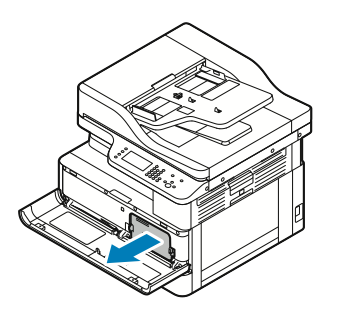
Pull the cartridge straight out toward you and set it aside on a flat surface.
Locate the connector for the drum cartridge and gently lift up the cord to release it from the clip.

Pull the connector out to disconnect the drum.

Remove the orange thumbscrew on the drum cartridge by turning it counter-clockwise to loosen and remove.

Lift up on the orange release lever to unlock the drum cartridge. To remove and reinstall the cartridge, simply pull the cartridge straight out of the printer, reinsert it back into the printer, and then continue with step 9. To replace the cartridge, follow these steps:
Pull the cartridge straight out of the printer and place it on a flat surface.
Caution: Do not touch or scratch the surface of the drum cartridge. Do not expose the drum cartridge to direct sunlight or strong indoor fluorescent lighting.On the right side of the printer, locate the paper dust cleaner and squeeze the levers together to remove the cleaner as indicated in the image below. Put this aside to recycle.

Remove the new paper dust cleaner from its packaging and insert the right side into position first, and then press down on the left side until it clicks into position.

Remove the new drum cartridge from its packaging and place it on a flat surface. Pull up on the tab in the center of the cartidge to remove the tab.

Remove the clips on each end of the cartridge. Push out and then pull up on the clip to remove.

Pull down on the protective sheet and then pull the sheet up and over in the direction of the arrows in the images below.


Locate the clip on the end of the cartridge, fold up each end and then pull up to remove the clip.

Insert the drum cartridge into the printer and continue with the next step.
Press down on the orange lever to secure the cartridge in place.
Insert the drum connector back into position. Make sure to fasten the cord over the clip.


Place the orange thumbscrew back into position and rotate clockwise until it is securely fastened.

Slide the toner cartridge back into the printer.
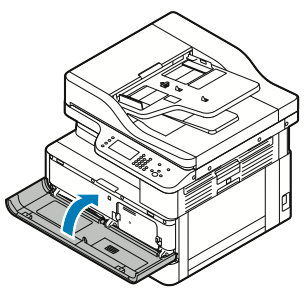
To close the printer, push the front cover up until it clicks into place, and then close the side cover. The printer automatically resets.
Note: Store the old drum cartridge in the box that contained the new cartridge. Dispose of the cartridge and any parts according to your local recycling regulations. See the Related Contentfor a link to Xerox Recycling.