Replace the Imaging Unit
- Product support for
- Xerox B225 Multifunction Printer, Xerox B235 Multifunction Printer
- Article ID
- KB0326545
- Published
- 2023-06-13
This procedure is also supported by the CareAR Instruct App (For Mobile Devices Only).

On a Mobile Device? Click on the QR Code for your printer model to access the procedure using CareAR Instruct.
On a Computer? Scan the QR Code for your printer model using your mobile device.


Procedure:
Open the front door.
CAUTION: To prevent damage from electrostatic discharge, touch any exposed metal frame of the printer before accessing or touching interior areas of the printer.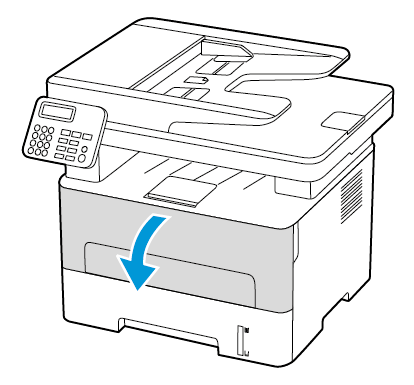
Remove the used imaging unit.

Remove the toner cartridge from the used imaging unit.
CAUTION: Do not use warm water or cleaning solvents to remove toner from your skin or clothing. This will set the toner and make it difficult to remove. If any toner gets on your skin or clothing, use a brush to remove the toner, or wash it off with cold water and mild soap.
Unpack the new imaging unit, and then insert the toner cartridge.
Note: Make sure all packaging material is removed before inserting the new imaging unit.
CAUTION: Do not expose the imaging unit to direct light for more than 10 minutes. Extended exposure to light may cause print quality problems.
CAUTION: Do not touch the photoconductor drum. Doing so may affect the quality of future print jobs.
Insert the new imaging unit.

Close the door.