Reset the Printer Network Settings to Factory Default
- Product support for
- Xerox B215 Multifunction Printer
- Article ID
- KB0326387
- Published
- 2020-11-02
CAUTION: Performing this procedure will clear all security configurations and network settings and network connection to the printer will be lost immediately.
Printer Network Settings can be reset back to factory default settings using the Xerox Easy Printer Manager program or CentreWare Internet Services (CWIS). The printer must be connected to a network to use CWIS.
Note: The images in this procedure are for demonstration purposes only and may not specifically match your printer model; colors, icons, and other differences may exist.
To Reset the Printer Network Settings to Factory Default Using the Easy Printer Manager
Note: Xerox Easy Print Manager is no longer supported for Mac OS 10.15 or above.
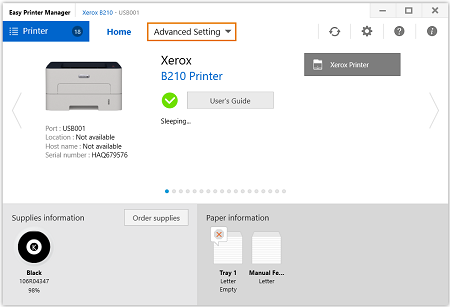
At your computer, open Easy Printer Manager.
Click Printer, then select the printer.
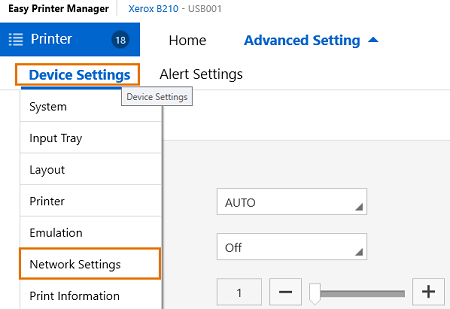
Click Advanced Setting.
Click Device Settings.
Click Network Settings.
Under Restore Default, next to Network Settings, click on the Clear button. Restoring network settings will take effect after the printer is rebooted.

Note: If the printer is connected to the network using an Ethernet cable, if network settings are reset, the printer settings default to wireless. To reconfigure the network settings to wired, connect the printer to a computer using a USB AB cable, then use Xerox Easy Printer Manager to change the network settings using the instructions below.Connect the one end of the USB AB cable to the USB B port on the back of the printer. Connect the other end to a standard USB A connection on your computer.
At your computer, open Easy Printer Manager.
Click Printer, then select the USB connected printer.
Click Advanced Setting or Machine Settings.
Configure the device and network settings required.
Click Save.
To Reset the Printer Network Settings to Factory Default Using CentreWare Internet Services (CWIS)
Note: If you are accessing Xerox CentreWare Internet Services for the first time after printer installation, you will be prompted to change the default Administrator Account password. The initial default password is the printer serial number. For additional information refer toChange the System Administrator Password for CentreWare Internet Services (CWIS).
To restore network settings back to the factory default values, use the Network Factory Default option.
From a computer (on the same network as the printer) open a Web browser.
In the Web browser address field, enter the IP address of the printer and then press Enter or Return. The CWIS home page will be displayed.
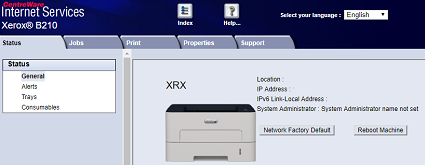
Click Status.
Click General.
Note: Many features in CWIS require an administrator user name and password to access or modify. If prompted to enter Administrator Account login details:For User Name, enter Admin.
For Password, enter the administrator account password that was set during initial access to CWIS.
Click OK.
Click Network Factory Default. A warning message is displayed.
To confirm, click OK.