Remove and Re-install the Drum Cartridge
- Product support for
- WorkCentre 7525/7530/7535/7545/7556, WorkCentre 7830/7835/7845/7855, WorkCentre 7970
- Article ID
- KB0234908
- Published
- 2019-02-26
CAUTION: Do not expose the Drum Cartridges to direct sunlight or strong indoor fluorescent lighting. Do not touch or scratch the surface of the drum.
IMPORTANT: Place any suspected defective cartridge that is removed from the printer in protective wrapping/packaging material for situations where it may still be a functioning cartridge. If you do not have the original packaging material, use the packaging from the new cartridge.
Make sure the machine has stopped copying / printing.
Open the Front Door of the printer.
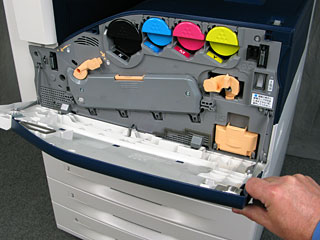
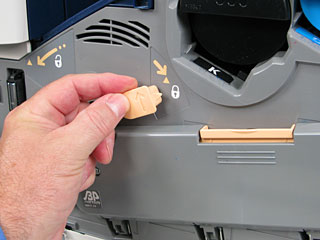
Turn the release lever on the left side of the Drum Cartridge Cover to the left to unlock the cover.
Pull the cover open to access the four Drum Cartridges.
Note: The drum door is stiff and may require a bit of pressure to drop the door down all the way. 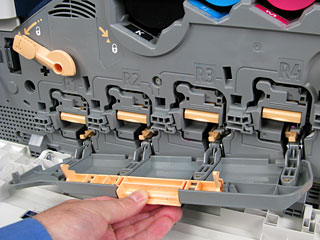
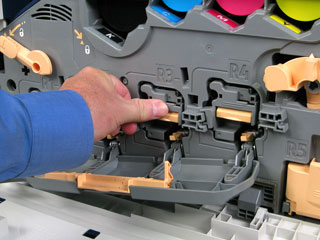
Grasp the orange handle of the appropriate Drum Cartridge (R1=Black, R2=Cyan, R3=Magenta, R4=Yellow) and gently pull the cartridge out of the printer.

Push the cartridge back into the machine until it comes to a stop.
Lift up the Drum Cartridge Cover.

Turn the release lever on the left side of the Drum Cartridge Cover to the right to lock the cartridges into position.
Close the Front Door. If the Front Door is not completely closed a message will be displayed and the machine will not operate.