Replace the Feed Roller Kit
- Product support for
- WorkCentre 3655
- Article ID
- KB0139740
- Published
- 2020-08-13
Note: A video is available the end of this article.
Power the printer off.
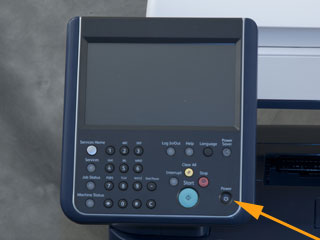
Press the Power button on the Control Panel. An "Are you sure you want to power down the device?" message will be displayed on the Touch Screen.

Select Power Down on the Touch Screen. After approximately 10 seconds, the Touch Screen will go dark and the Power Saver button will flash until the printer has completely powered down.
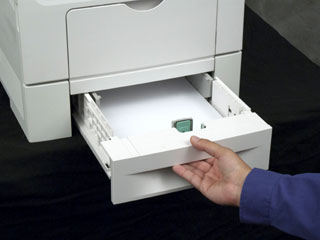
Remove Paper Tray 1.

Locate the Feed Roller at the back of the tray.

Gently push out on the clip to unlock the roller, rotate the roller up, and then pull the roller off.

Repeat for optional Trays 2, 3, and 4 (if installed).
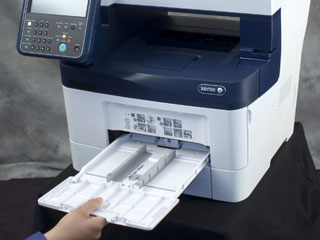
Open the Bypass Tray.

Grasp the Bypass Tray, then pull it straight out of the printer.

Locate the Feed Rollers inside the printer, toward the back. There are two rollers next to each other.
Gently push down on the clip to unlock the roller and then pull the roller off.


Repeat for the other roller.
Set the old rollers aside for recycling.
Remove the new Feed Rollers from the packaging.
IMPORTANT: Make sure the clip is on the bottom of the roller when it is inserted.Insert the new Feed Roller onto the shaft until it clicks in place.
IMPORTANT: If the roller does not click into place, then it is not fully installed.Repeat for the other Feed Roller.
Re-insert the Bypass Tray.
Re-insert the paper tray(s).
Press the Power button on the Control Panel to power the printer on.

Video: