Install the Microsoft Windows V3 Driver to Print From Windows 10 OS
- Product support for
- Phaser 6510, VersaLink B400 Printer, VersaLink B405 Multifunction Printer, VersaLink B600/B610 Printer, VersaLink B605/B615 Multifunction Printer, VersaLink C400 Color Printer, VersaLink C405 Color Multifunction Printer, VersaLink C500 Printer, VersaLink C505 Multifunction Printer, VersaLink C600 Printer, VersaLink C605, WorkCentre 6515
- Article ID
- KB0092128
- Published
- 2019-06-05
To start the Xerox Windows V3 driver installation process, first download the Xerox Smart Start driver for your printer. Using the Xerox Smart Start Installer requires the Windows 10 computer to have a connection to the internet that will allow communication with Xerox.com to download the required drivers.
IMPORTANT: The installation steps below require administrative privileges to the Windows 10 computer. If you do not have administrative privileges, contact your system administrator. Xerox will not have your administrative login or password information for the Windows 10 computer.
From the Xerox.com Drivers & Downloads page, select the link for the Xerox Smart Start – Driver Installer for the printer you are using (an example of the driver link looks like below).

On the next screen, respond to the choices below the End User License Agreement. Click Accept, and then click Save or Save File.
NOTE: Some web browsers will start downloading the file automatically without prompting to Save, Save As or Run the file first.After the download completes, run the Xerox Smart Start Installer. The file will be typically located in your Downloads folder (unless you have chosen a different folder to save the file to).
When the installer launches, the Windows User Account Control window will display.

The Verified Publisher will say: Xerox Corporation
The File Location will show where you saved the downloaded file to.Click Yes. If prompted for a login and password to continue, this is a Windows credentials user name and password. Consult your Windows system administrator if you do not have these credentials available.
NOTE: This program will search your network for supported Xerox printers. This can take several minutes depending on the size of the network and the number of Xerox printers found.The Xerox Smart Start License Agreement window displays. After reading the License Agreement, click Agree to continue with the installation or click Disagree to stop the installation.

The Xerox Smart Start Discovered Printers window displays. Look for the printer in the list and select Advanced Install or Add Another Queue.

NOTE: The window (above) will show Ethernet connected (wired or wireless) and USB connected (direct connect to the Windows 10 computer).
The Driver Selection window displays.
Change Print System to Type 3 Print System. If the printer shows TWAIN/WIA Scan Drivers as an option, select Do Not Install Scan Drivers.
Write down the printer name that is displayed. In the image above, the printer name is VersaLink C505 PS-2. This is the name that will be used to install the new print queue.
Choose Install to continue. When the driver has successfully been installed, you will see the following window display:
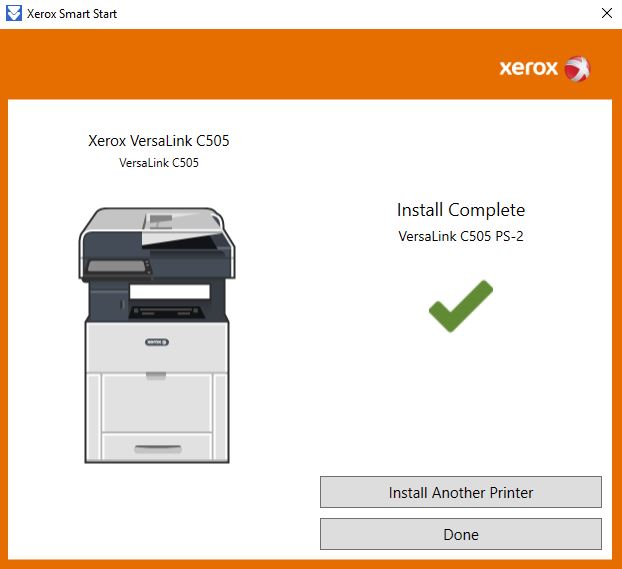
If you would like to install another printer, choose Install Another Printer and go back up to step 6. If you are finished, select Done.
When you have selected Done, the Xerox Smart Start Installer will now close.
NOTE: In some network environments, you may observe a lengthy delay before your newly installed printer appears in the list of Devices and Printers. This is a result of background processes and does not mean that your printer has stopped functioning. Your printer is available for printing even when it is not displayed in the list of Devices and Printers.
NOTE: In some cases, you may find the class driver for your product installed, instead of the V3 driver you selected. If that occurs, simply run through the installation steps again.To remove a Windows 10 V4 print queue, left-click on the Windows 10 Start icon (the red box in the picture below).

Type: control in the search field. Control Panel option will display.

Left-click on Control Panel. The Windows Control Panel opens.

In the upper, right corner ‘Search Control Panel’ box, type: device.

Select Devices and Printers. The Devices and Printers window opens.

Select the print queue you want to remove. In the image below, the VersaLink C605 PS queue is selected.

NOTE: Before trying to remove the print queue, you will want to make sure that there are no print jobs pending otherwise the print queue will reappear when you restart the computer.Right-click on the VersaLink C605 PS queue and then select See what’s printing from the menu.

The print queue opens to show any pending print jobs.
Left-click on the Printer drop-down menu. A new menu appears.

Select Cancel All Documents. A message asking you if you are sure you want to cancel the documents displays.

Click Yes to confirm.

NOTE: If the documents are stuck on ‘Deleting’, you might need to restart your computer and go back step 12.Right-click on the print queue again and select Remove Device.

You will now see the following confirmation popup:
Click Yes to confirm you want to remove the print queue.
