Replace the Toner (Print) Cartridge
- Product support for
- Phaser 3020
- Article ID
- KB0036802
- Published
- 2016-04-25
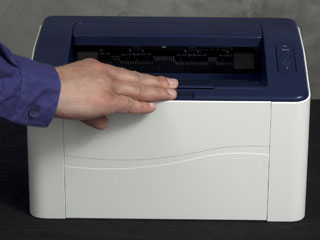
When the Toner LED light at the top of the printer control panel is solid orange, it is time to replace the print cartridge.
Open the Top Cover.
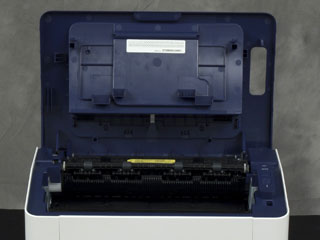
Pull the print cartridge out.
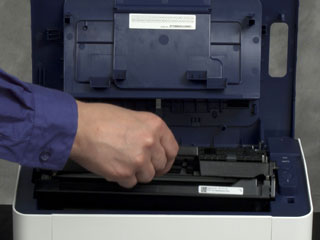
CAUTION: Do not touch the green underside of the print cartridge. Use the handle on the cartridge to avoid touching this area.
WARNING: When replacing consumables, do not remove machine covers or guards that are fastened with screws. You cannot maintain or service any of the parts that are behind these covers and guards.
Do not attempt any maintenance procedure that is not specifically described in the documentation supplied with your machine.Remove the new print cartridge from the packaging. Read and follow the directions on the packaging to remove the protective materials as directed.
Slowly shake the cartridge five or six times to distribute the Toner evenly inside the cartridge.
CAUTION: If Toner gets on your clothing, wipe it off with a dry cloth and wash clothing in cold water. Hot water sets Toner into fabric.Hold the new print cartridge by the handle and slowly insert it into the machine. Tabs on the sides of the cartridge and corresponding grooves within the machine will guide the cartridge into the correct position until it locks into place.
Close the Top Cover. The machine status light on the Control Panel should be green, indicating the machine is ready to print. The Toner LED light should be out, indicating that the print cartridge has enough Toner to print.